This article covers:
- Registering an AWS account
- Creating a user in this account
Using a cloud service is the easiest way of getting a remote machine that. There are quite a few options nowadays, including cloud computing providers like Amazon Web Services (AWS), Google Cloud Platform, Microsoft Azure, and Digital Ocean.
In this article, we’ll show how to register an account. If you don’t have an account yet, you’re eligible for the free tier: you have a 12-month trial period in which to check out most of the AWS products for free.
Registering on AWS
The first thing you need to do is create an account. To do this, go to https://aws.amazon.com and click the “Create an AWS Account” button:
Note: The screenshots were taken in October 2019. It’s possible that the content on the AWS web site and the appearance of the management console changed since then.
Follow the instructions and fill in the required details. It should be a straightforward process, similar to the process of registering on any website.
Note: Please be aware that AWS will ask you to provide the details of a bank card during the registration process.
Once you’ve completed the registration and verified your account, you should see the main page — the AWS Management Console:
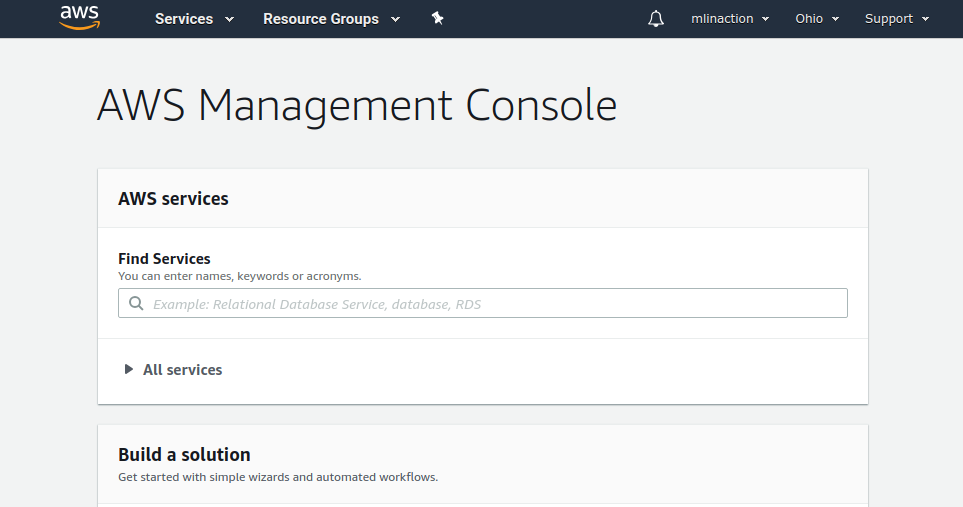
Congratulations! You’ve just created a root account. However, it’s not advised to use the root account for anything: it has very broad permissions that allow you to do anything and everything on your AWS account. Typically, you use the root account to create less powerful accounts and then use them for your day-to-day tasks.
Creating a user
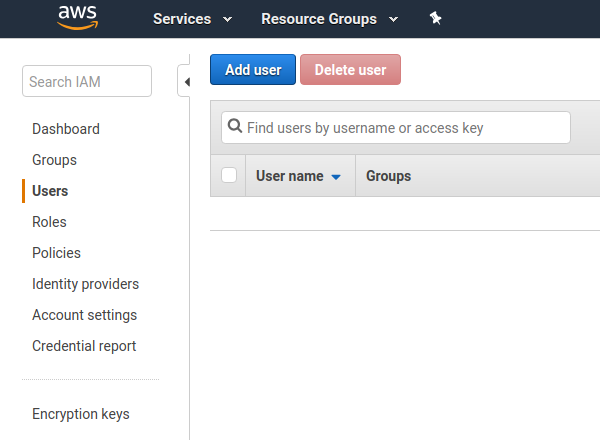
To create such an account, type “IAM” in the “Find Services” box and click on that item in the drop-down list. Select “Users” in the menu on the left, and click “Add User”:
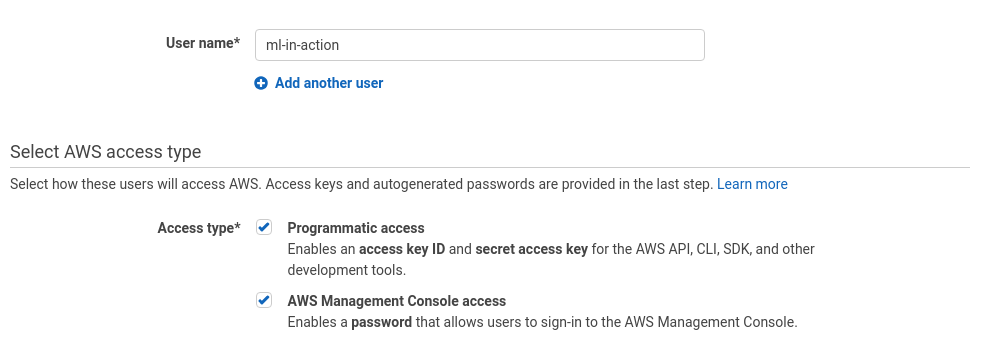
Now you just need to follow the instructions and answer the questions. At some point, it will ask about an access type: you’ll need to select both “Programmatic Access” and “AWS Management Console Access”. We will use both the command-line interface (CLI) and the web interface for working with AWS:
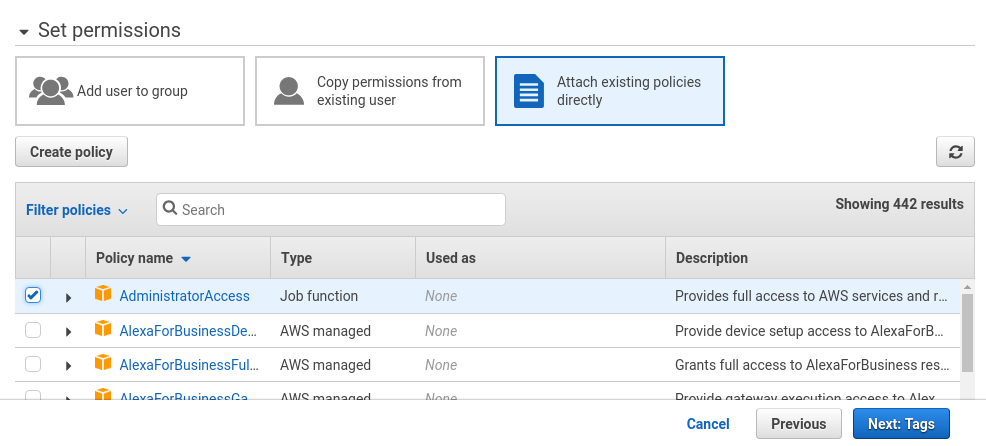
In the “Set Permissions” step, you specify what this new user will be able to do. You want the user to have full privileges, so select “Attach Existing Policies Directly” at the top and choose “AdministratorAccess” in the list of policies:
As the next step, the system will ask you about tags — you can safely ignore these for now. Tags are needed for companies where multiple people work on the same AWS account, mostly for expense management purposes, so they shouldn’t be a concern for the projects you’ll do in this book.
At the end, when you’ve successfully created the new user, the wizard will suggest that you download the credentials:
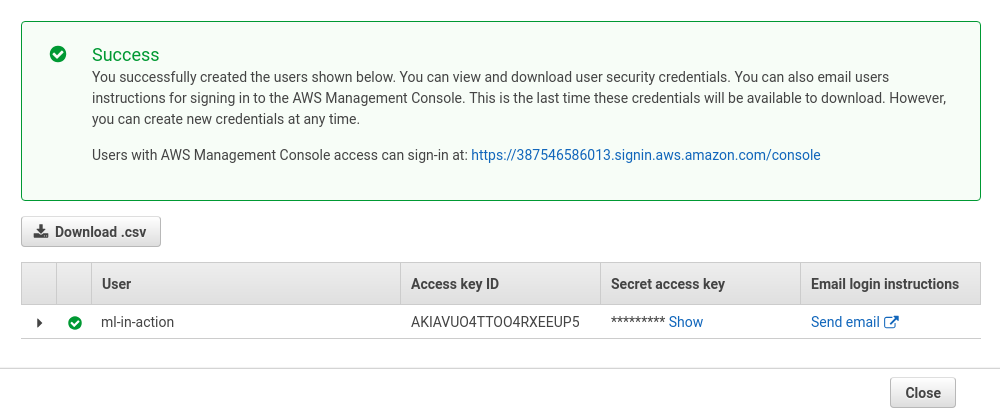
Download them and keep them safe: we’ll need them to use the account programmatically with AWC CLI (command line interface).
To access the management console, you can use the link AWS has generated for you. It appears in the “Success” box and follows this pattern:
https://<accountid>.signin.aws.amazon.com/console
It might be a good idea to bookmark this link. Once AWS has validated the account (which can take a little while), you can use it to log in: simply provide the username and password you specified when creating the user.
Now you can start using the services of AWS! Most importantly, you can create an EC2 machine and run Jupyter Notebook there.